Achievements & badges
Zombies Aren't Real Achievements Guide: All 14 Trophies
Find all 14 Zombies Aren't Real Steam achievement conditions, global unlock rates, badge tiers and suggested routes for the campaign challenges.
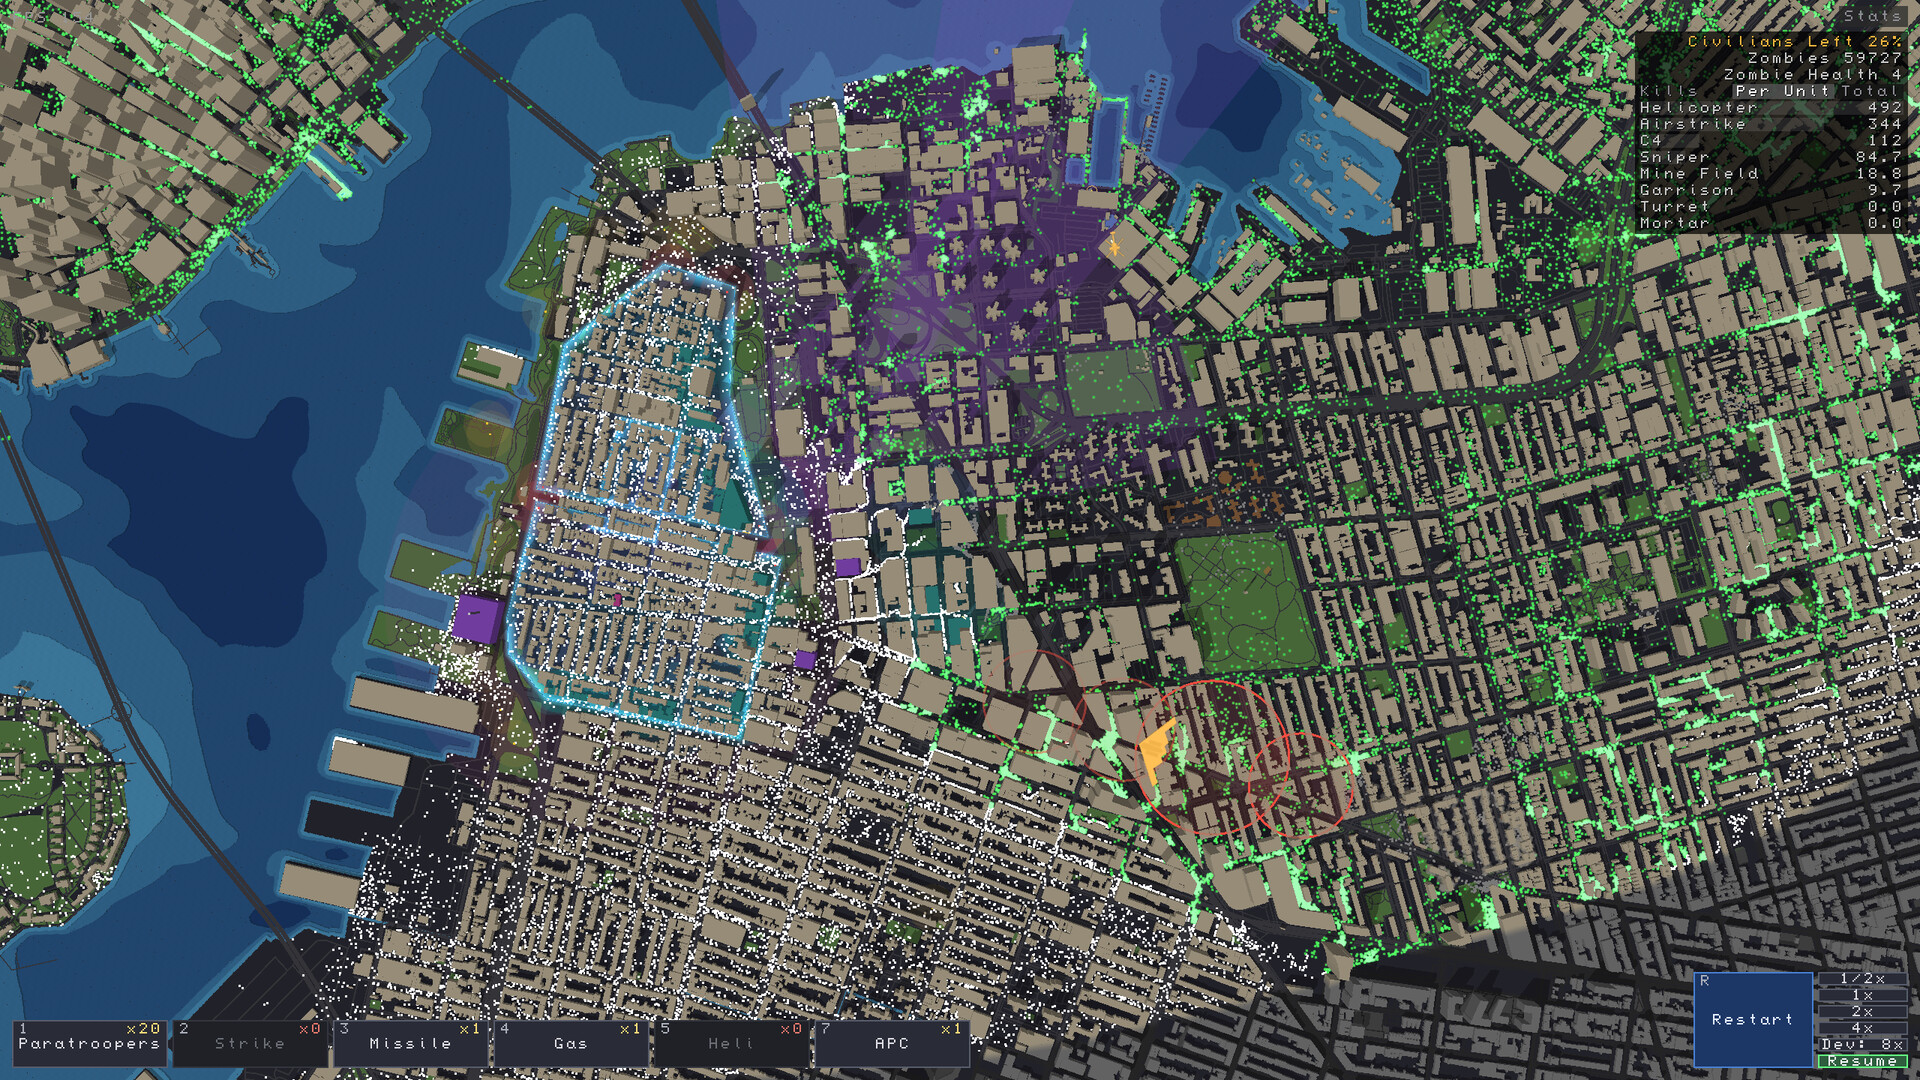
Zombies Aren't Real features 14 Steam achievements. To unlock all of them, you need to earn Gold and Diamond badges, clear campaigns, and complete runs with restrictions such as no safe zones or no battle-phase abilities. The table below pairs the published Steam conditions with SteamDB's 19 November 2026 unlock rates. The routes are based on those conditions, the developer's patch notes and player strategies.
All 14 Zombies Aren't Real achievements and how to unlock them
Every achievement in Zombies Aren't Real falls into one of three groups: tactical combat actions in a single scenario, civilian-survival badge ratings, or full-campaign endurance challenges. Use the reference table below to plan which trophies you can combine in a single run and which ones need a dedicated setup.
| Achievement | What unlocks it | What to do if you miss it | Global unlock rate |
|---|---|---|---|
| Beginner's Luck | Win a scenario on the first attempt. | A failed first attempt misses the stated condition. Pick a fresh scenario for the next attempt. | 89.4% |
| Where's the Air Support!? | Call in a bomber airstrike. | Equip Air Strike in the loadout and use it in a battle. No victory is listed as a requirement. | 78.6% |
| GET TO THE CHOPPA | Call in a helicopter. | Equip and call in the helicopter during battle. No victory is listed as a requirement. | 72.8% |
| Choke Point | Destroy a bridge. | If the bridge survives, try on another map with a river crossing where you have the relevant deploy option. | 83.4% |
| Back from the Brink | Win a scenario after a safe zone is breached. | Both events must happen in the same scenario. Try again with a backup perimeter. | 83.7% |
| Golden | Win a scenario with Gold or better. | If the badge is below Gold, try another qualifying scenario. | 83.6% |
| Freshly Cut | Win a scenario with Diamond. | Try another scenario if you miss Diamond. Aim for the stated badge. | 76.9% |
| Glittery | Finish a campaign with Gold or better on every stage. | A lower badge misses the requirement. Start a clean campaign if a replay does not improve the recorded stage result. | 21.3% |
| Completionist | Beat every campaign. | Finish the remaining campaigns. The Steam description lists no badge or one-attempt rule. | 2.2% |
| Flawless | Finish a whole campaign without losing any scenario. | In v0.43.1, using RETRY also disqualifies that campaign. Restart from Scenario 1. | 30.1% |
| Sparkly | Finish a campaign with Diamond on every stage. | A lower badge misses the requirement. Start a clean campaign if a replay does not improve the recorded stage result. | 10.2% |
| Daring | Win one scenario without placing a safe zone. | If you place a zone, start a fresh attempt and leave it unbuilt from the start. | 6.5% |
| Masterful | Start from Scenario 1 and finish a campaign without deploying battle-phase abilities. | If you use an ability, start a fresh campaign from Scenario 1. | 1.2% |
| No Friendly Fire | Win a campaign without your own weapons killing a civilian. | If a civilian is killed by your weapons, start a clean campaign. | 19.2% |
SteamDB achievement descriptions and global rates, checked 19 November 2026. The lowest unlock rates in that snapshot were Masterful (1.2%), Completionist (2.2%) and Daring (6.5%). Rates change over time.
Solo and retries: Steam lists single-player support and none of the 14 published triggers names a co-op requirement. These routes are written for solo play. Per-achievement solo and co-op behavior has not been tested by this wiki. The retry column gives a safe next attempt where the game does not document all reset rules. The developer's v0.43.1 patch notes explicitly confirm the Flawless retry rule and that campaign runs count for achievements.
If you are still learning the planning controls and deploy menu prices, read our Zombies Aren't Real beginner guide and Zombies Aren't Real units and defense breakdown first.
How badge tiers work (Bronze to Ruby) for Golden, Freshly Cut, Glittery, and Sparkly
Four of the 14 achievements (Golden, Freshly Cut, Glittery, and Sparkly) depend directly on the badge you earn at the end of a scenario. Community strategy guides report five performance tiers graded on the percentage of the city's civilian population you save:
- Bronze and Silver: Clearing the outbreak while meeting the scenario's baseline survival requirement (such as the "Civilians safe: 2% - need 10%" target shown in early official store screenshots). Enough to advance the campaign and count toward Completionist, but not enough for badge trophies.
- Gold: Saving a strong majority of reachable civilians, unlocking Golden on a single stage and Glittery when maintained across every stage of a campaign.
- Diamond: Near-flawless civilian preservation on a stage. Earning one Diamond rating unlocks Freshly Cut; earning Diamond on every stage of a full campaign unlocks the rare Sparkly trophy.
- Ruby: The highest leaderboard rating reported by community guides, awarded for near-total population preservation under heavy late-stage pressure.
Using "Refund All" when campaign maps expand
Reddit discussions and strategy sites emphasize one campaign mechanic that makes Glittery, Sparkly, and Flawless much easier: city campaigns expand in stages. You begin in a small neighborhood, and each victory widens the map boundaries, increases your cash budget, and grants additional Skill Points (SP) until you are defending an entire metropolitan area.
While your placed safe zones and units carry over between stages, a perimeter built for Stage 1 is almost always in the wrong place once Stage 3 opens new bridges and shifts zombie spawn directions. Clicking Refund All during the planning phase strips down your old walls and units and returns 100% of their cash cost, letting you redraw your safe zones around the new high-ground rooftops and special buildings without losing money. For a deeper look at crowd movement tools, see how to survive longer and save more civilians.
How to unlock No Friendly Fire
No Friendly Fire requires a whole campaign with zero civilians killed by your own weapons. In v0.43.1, mortars, helicopters and mines no longer kill civilians or damage safe-zone walls. Manually aimed attacks, including Air Strike, Firebomb, Cluster Bomb, Cruise Missile, AC-130, Nuke, Controlled Demolition and C4, can still do both. Leave those attacks unequipped when possible so you cannot fire them by mistake.
A build order for No Friendly Fire
- Use precision building defenders: Build your defense around Garrisons ($150) and choke-point Turrets ($90) aimed outward toward the infection zone, away from the gates civilians use to enter.
- Separate zombie choke points from civilian gates: Place gates (G) on the safe side of your perimeter and pair them with Broadcast and short Evacuation Corridors. On the zombie approach side, build solid walls (K) with no gates so civilians never walk into your firing arcs.
- Slow hordes with non-lethal road barriers: Line bridge exits and narrow approaches with $1.00 Spikes so your Garrisons have time to gun down the horde without needing explosive splash damage.
- Use Paratroopers and Police for mobile cleanup: If you need active support away from your walls, drop Paratroopers (officers in Hunt/Guard mode) or enable the Police civic building function rather than dropping bombs.
How to unlock Masterful
Masterful requires beating a whole campaign, started fresh from Scenario 1, without deploying any battle-phase abilities. Once you press Ready (Space), you cannot touch the bottom ability bar — no Paratroopers, no Helicopter gunships, no APCs, and no Air Strikes.
Because you have no emergency panic button mid-battle, your planning-phase layout has to be completely self-sustaining. Reddit players on r/ZombiesArentReal and community strategy hubs recommend combining three planning habits for Masterful:
- Inspect elevation (V) and special buildings (C) before drawing walls: Press V during the planning phase to view the building-height overlay (darker blue buildings are taller). Place Snipers ($38) and Mortars ($270) on tall dark-blue rooftops so lower blocks do not block their line of sight. Press C to locate Armory (Supply for faster reloads, Command Post for fire rate) and Trade (Budget / Reduced Cost) buildings, and anchor your safe zone around them.
- Build a "Castle" compartment layout: Instead of one wide ring, draw a tight core safe zone with an inner fallback compartment behind the main wall. Remember that units (except turrets) only get unlimited reloads while inside an intact safe zone — an inner compartment keeps your rooftop Mortars and Garrisons supplied even if an outer wall takes damage.
- Leave a "Bait" kill avenue: Do not wall off every street across a district; if zombies have no open path, they bash through random buildings and open unpredictable breaches. Leave one long avenue or bridge open as a funnel, line its ground with $200 Mine Fields and $1.00 Spikes, and flank both sides of the street with upgraded Lv2 Garrisons and Mortars.
- Spend spare cash on mid-battle Level Up upgrades: While Masterful bans battle-phase loadout abilities, you can still spend your cash budget on permanent deploy units and their Level Up buttons (such as upgrading a Mortar for $150 to gain 3x Fire Rate, Reload). See our battle abilities and special buildings page for every building class multiplier.
Solo routes for Flawless and Sparkly
- Flawless: Start a campaign from Scenario 1. Build a compact perimeter with a covered gate and bring an emergency ability for breaches. Recheck entry roads and sightlines each time the map expands. Clear every stage without a defeat or pressing RETRY.
- Sparkly: Pick a campaign you have already cleared so you know where each outbreak starts. Before each stage, lay out covered gates and short Evacuation Corridors, use Broadcast to draw in nearby civilians, and keep your first-response units ready near the outbreak. Check the result after each stage. You need a Diamond badge every time.
How to unlock Daring, Back from the Brink, and Choke Point
The remaining tactical achievements only require a single scenario victory rather than a full campaign, so you can target them on an early Stage 1 map where the outbreak is small:
- Daring (Win a scenario without placing a safe zone): Load an early scenario with natural water or bridge boundaries. Do not draw any safe zone cells ($1.00/cell). Instead, spend your cash on Mine Fields ($200), Spikes ($1.00), Turrets ($90), and rooftop Snipers ($38) right around the red infection origin. Remember that units placed outside a safe zone cost more, wait before firing, and carry limited reloads — so bring Paratroopers, Helicopter, and Air Strike in your SP loadout to wipe out the outbreak in the first two minutes before it spreads into the civilian population.
- Back from the Brink (Beat a scenario after a safe zone is breached): Build your normal fortified safe zone around the civilian crowd, then draw a tiny, undefended 1-cell or 2-cell safe zone right next to the zombie spawn point. Let the zombies break that decoy zone in the opening seconds, then clear the mission normally with your main defense.
- Choke Point (Destroy a bridge): Load any river or canal city map (see Zombies Aren't Real maps and Workshop), equip Air Strike in your loadout or place C4 ($500) on a bridge span, and detonate it during the battle phase. If you use a bomber Air Strike, stack the bombing markers onto one spot on the bridge rather than dragging them into a wide line.
Where to go next in this wiki
- Zombies Aren't Real beginner strategy guide — the planning phase, the first mission, and what a winning run looks like.
- Zombies Aren't Real units and defense — full planning-phase price table ($38 Sniper to $500 C4) and post-run kill stats.
- Battle abilities and special buildings — Skill Point loadouts, Civic/Trade/Armory/Rescue building functions, and best combos.
- Why you keep losing in Zombies Aren't Real — symptom-by-symptom fixes when walls break, ammo runs dry, or civilian scores stall.
- Zombies Aren't Real Wiki front page — full game overview, Early Access details, co-op rules, and FAQ.