Civilian survival
Survive Longer, Save More Civilians - Zombies Arent Real
Your score is the share of civilians you save, not the size of the wall you build. Here is how to read the survival target, move people into safety, keep your units firing, and decide when a run is worth restarting.
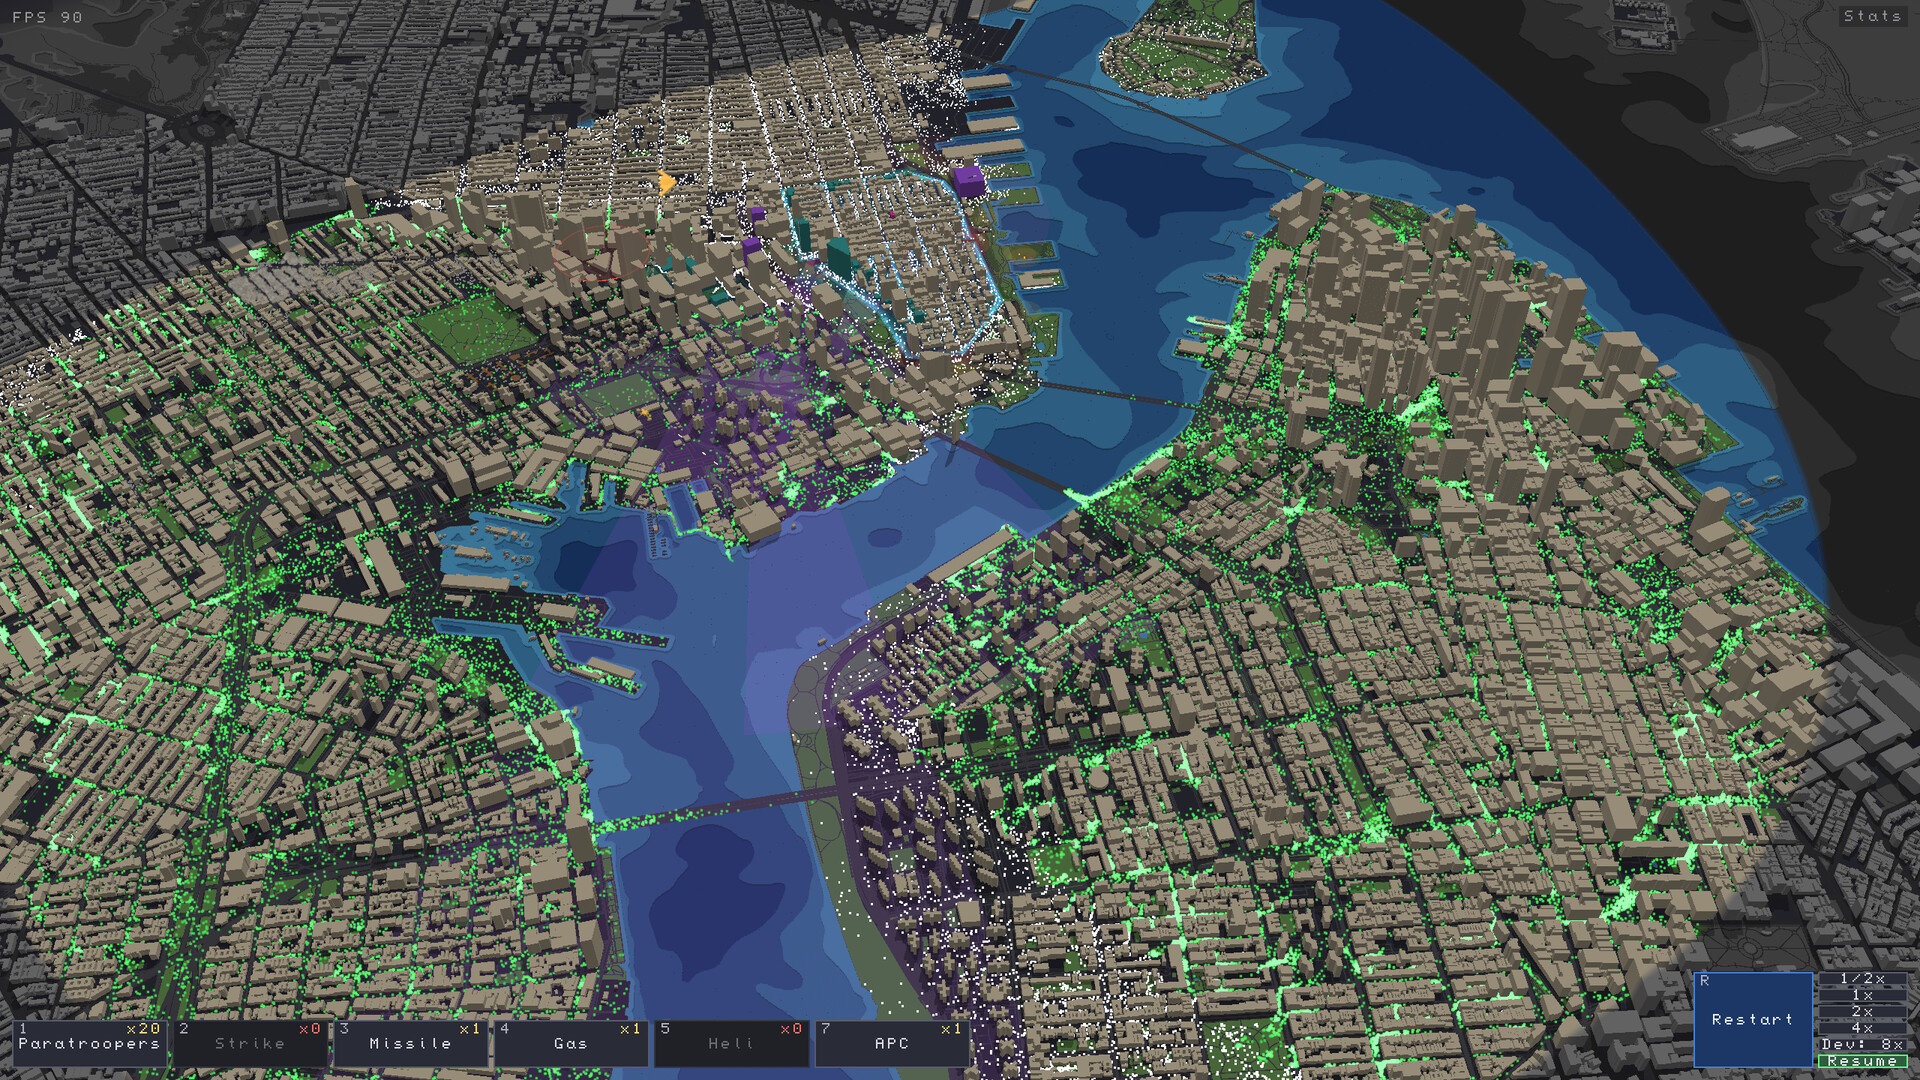
You survive longer by saving people, not by building a bigger wall. Clear every zombie to win, then look at the survival target before you spend a dollar: your score is the share of civilians still alive when the outbreak is over. Everything below is about moving that number up - choosing a zone you can hold, giving people a way in and a route to safety, and keeping your guns firing long enough for the plan to work.
What the score is actually measuring
The rule is short: eliminate every zombie to win; the civilians you saved are your score. A larger perimeter that falls saves fewer people than a small one that holds. One scenario in the official store screenshots starts at "Civilians safe: 2% - need 10%", so read the target bar on your own map before you commit - the requirement is set per scenario, not fixed across the game.
There is a second reason to care. Community guides published on 15 November 2026 report that civilians left outside protection can be infected and become zombies, so each person you bring inside is also one less enemy to clear later. That is a community-guide explanation of the infection mechanic, not a number we measured ourselves; the store page itself only states the scoring rule.
Build a small zone, then open a way in
The most common first-run mistake is drawing a perimeter around more city than you can defend. Work the other way round:
- Find your firing positions first. Put garrisons in buildings that can actually see the wall, then draw the boundary around them. The stats panel after a run tells you which units did the killing; a wall no unit can see is the gap that breaks.
- Keep the wall short. Every extra section costs money and needs coverage. A compact shape concentrates your defenders. If you need more ground later, clear a scenario first - the map grows and you get more budget and skill points.
- Add gates on the side people come from. Gates go on main roads and at the ends of bridges, close to where civilians gather. A zone without gates is sealed: people outside cannot get in, even with zombies behind them. Starting below the target is fine if more citizens can enter during the battle.
- Give the main zone a fallback. A smaller inner zone behind the first wall keeps its units firing if the outer boundary breaks.
For prices and the full list of deploy options, see units and defense; for the planning-phase sequence, see start here.
Move crowds with Broadcast, Hold and Corridor
This is the part the early guides say matters most for the civilian score, and it is also the part most likely to change during Early Access. The descriptions below come from community guides dated 15 November 2026 that quote the developer's answers on the game's Steam discussion board; the developer said on that date that an update to the civilian-control tools was coming within a week. Check your own build bar and the developer's patch notes before relying on exact costs.
- Broadcast is a building function that sends civilians in range running toward the zone. It fills a zone early, but people still need an open gate. On larger maps several small Broadcast-supported zones can give separated crowds a nearby destination.
- Hold creates two circles: civilians in the outer ring move to the inner circle and wait there. It gathers scattered people into one place and keeps them away from the wall, where breaches and mortar fire are dangerous. It does not protect them by itself.
- Evacuation Corridor is a drag-and-drop lane. Civilians standing on it move along it, and faster. It helps whoever is already on it rather than pulling people in from side streets, so start it inside a Hold and end it at a gate. A short corridor from a crowd to the nearest entrance does most of the work of a long one for a fraction of the cost.
Keep evacuation lanes along roads: community guides report that civilians on a corridor move in a straight line. Do not aim a corridor past a mortar's firing line - bringing a crowd through your own blast is a fast way to lose the score you were trying to raise.
Militia and Airlift: two ways a zone can end
Community guides published on 15 November 2026 describe two building functions that change what a lost zone costs you. Militia arms a share of the civilians in range when the wall breaks; those fighters no longer count toward your saved total, so it belongs in a forward zone you expect to lose, not in the zone carrying your score. Airlift flies civilians out over time, and those evacuees are safe even if the zone falls later. For a zone built around preserving people, the guides favour Broadcast with Airlift over Broadcast with Militia. These are community reports of building effects, not official specifications or our own playtests.
Keep the guns firing
Ammo is a quiet reason runs collapse. The same community guides (15 November 2026) describe these rules:
- Units inside an intact safe zone get unlimited reloads, turrets excepted. A breach removes that advantage, which is why one broken section can turn into a lost battle.
- Units placed outside a safe zone cost more, get a limited number of reloads and wait before their first shot.
- Turrets never reload, anywhere. Treat them as a burst at a choke point.
- Helicopters leave the map to rearm and return; armoured vehicles go back to a safe zone to rearm.
Repair functions on buildings in range can heal walls and help a section that takes repeated hits. Weight extra wall health against another gun before you spend.
When to call air support
The store description is explicit: you can call bombers or gatling gun helicopters when the perimeter breaks, but you have to aim well to minimise civilian casualties. Hold that support for the moment the line actually fails instead of spending it on the first cluster. Community guides add that air strikes arrive after a delay, so aim where the horde is heading, and that blast damage flattens buildings and kills civilians in the area. The official position is the one to keep in mind: a clean block that kills the people you were protecting can cost you the run.
When to restart
The developer calls this an explicitly non-incremental game and says losing is part of the design, with restarts encouraged once defeat is inevitable. Do not grind a broken layout. Community guides report that a debrief explains the failure and marks on the map where walls broke, and that changing the plan can change where the next outbreak starts - so test one or two fixes at a time and judge the whole design, not one spawn position.
Before you press Ready
- Target read, zone compact, every wall inside a garrison's range.
- Gates on the approaches civilians use.
- Broadcast set on the right building, Hold and Corridor placed if you need them.
- Skill points spent, mortars and snipers on high buildings.
- One emergency ability and a fallback zone held back.
Go deeper on the units and defense page for what each weapon does, on maps and Workshop for real-city layouts, or back to start here if this is your first run.