Troubleshooting
Why You Keep Losing in Zombies Aren't Real
A lost scenario usually has one cause, not twenty. Match the way your run failed to the fix below, change one or two things, and restart - the developer built this game around trying again.
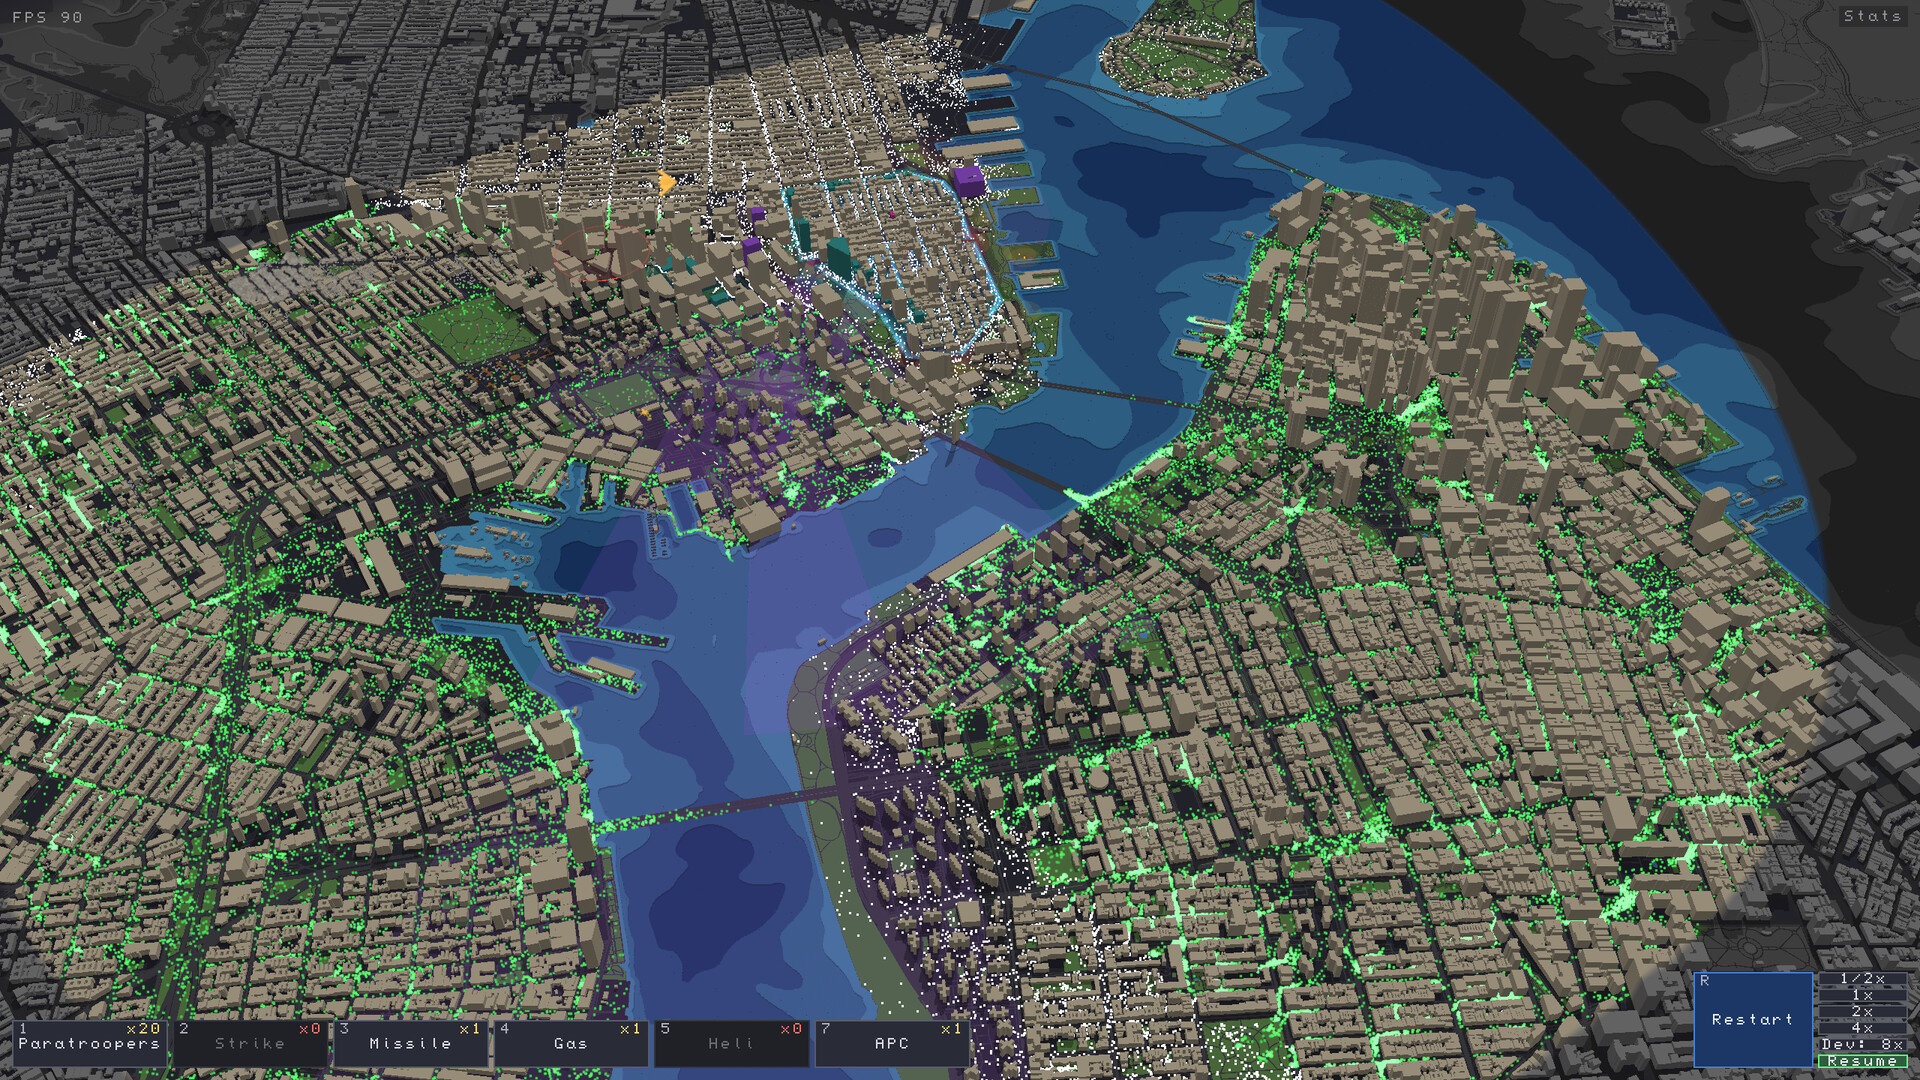
Do not add more guns to a run that failed for a non-gun reason. The fastest way to improve is to name the failure, change the thing that caused it, and try again. This checklist is a rewrite of player advice published on 16 November 2026, limited to troubleshooting steps that can be checked against the store material and the game's own screens. It is guidance, not a record of our own playtests.
Match the symptom to the fix
| What went wrong | What to change next run |
|---|---|
| Walls broke without much resistance | Move the perimeter closer to garrison coverage, or improve overlapping fire before adding another unit. |
| Civilians stayed outside despite space inside | Check gate position, Broadcast coverage and whether an evacuation route reaches an entrance. |
| An Air Strike or C4 killed escaping civilians | Keep manually aimed attacks away from gates and the roads crowds use. |
| Weapons ran out of ammunition | Check whether they were outside an intact safe zone, or were turrets with fixed ammunition. |
| One horde overwhelmed everything | Intercept outbreaks earlier, or hold a support ability back for a concentrated group or a mutation. |
| The budget ran out before the defence was ready | Shorten unnecessary wall and look for useful Budget or Reduced Cost building effects. |
Work down this table before you redesign the whole city. One targeted change tells you more than five changes at once.
Why the wall fell
A wall rarely breaks because it lacked health. It breaks because nothing could shoot the zombies attacking it. Player guides published on 15 November 2026 suggest choosing your firing positions before you draw the boundary: find the buildings with a clear view of the roads, place garrisons there, then shape the safe zone around them. Select a deployed garrison to see its range; if a stretch of wall sits outside it, pull that stretch in or cut it out.
Community guides also describe a chain reaction worth understanding: units inside an intact safe zone can keep reloading, but a breach removes that advantage. One weak section can therefore cost you the firepower you needed to stop the next section. Repair functions on buildings in range help where a wall takes repeated hits. Turrets are the exception to the reload rule and should be placed as a burst at a choke point, not spread along a perimeter.
Why nobody reached the zone
If the protected percentage barely rises while your walls hold, you have an evacuation problem, not a firepower problem. Check, in order:
- Gates on the approach. Put entrances on the side civilians actually come from - main roads and bridge ends - not on the convenient edge of your wall.
- Broadcast actually enabled. A building only calls people in when its function is set to Broadcast; a building left on Repair or Budget will not draw a crowd.
- A route that reaches the gate. Corridors move the civilians standing on them, so start a corridor where the crowd is and end it at an accessible entrance. Hold can gather a scattered group first.
- Keep manual strikes clear of the gate. As of v0.43.1, mortars no longer hurt civilians or safe-zone walls. Air Strikes and C4 still can, so check the roads civilians are using before you aim.
More detail on these tools is on the survive longer page.
When one outbreak becomes the whole map
The same guides recommend treating the first minutes as the decisive window. A fast response with paratroopers, a helicopter or an air strike can stop an outbreak before it spreads into the surrounding streets. Once several groups merge, the firepower needed to stop them rises sharply. Zombie health also climbs as a battle runs, and some guides report mutations into special types; watch the indicators beside the civilian and zombie counters and deal with a forming cluster early. Air support has a delay, so aim where the horde is heading, and remember that the blast does not spare civilians.
Bridges are useful because they concentrate movement. Concentrate fire on the crossing instead of spreading it along the whole waterfront, and keep some protection against zombies that can swim. Before destroying a bridge, decide where those zombies will go: pushing them toward an entrance that is already overwhelmed makes the problem worse.
Restarts are part of the design, not a punishment
The developer describes Zombies Aren't Real as highly strategic and explicitly not an incremental game: losing is fun, and you are encouraged to restart once defeat is inevitable. Community guides report that after a loss the debrief explains what went wrong and marks on the map where your walls broke. Use those marks rather than guessing.
One caution when you test a fix: changing a gate, a building function or a unit can change where the next outbreak starts. A small change can produce a different pattern, so judge whether the whole layout handles several directions rather than assuming one spawn location is normal.
A level's badge is not a gate to progress. Guides describe Bronze through Ruby ratings with per-level requirements and leaderboards (see our Zombies Aren't Real achievements and badges guide); clearing a scenario and moving on does not require the top grade. Improve the layout first, then chase badges when the defence is stable.
Before your next attempt
- Name the failure using the table above.
- Change one or two things, not the whole plan.
- Spend all Skill Points in the Loadout before pressing Ready.
- Keep one emergency ability and a fallback zone in reserve.
- Read the debrief and the unit kill stats after the run.
For unit prices and placements see units and defense; for the planning sequence see start here; for real-city map problems see maps and Workshop.
This page rewrites community player advice dated 15-16 November 2026. It is not official documentation and does not claim hands-on testing. Send a correction with a source through the contact page.